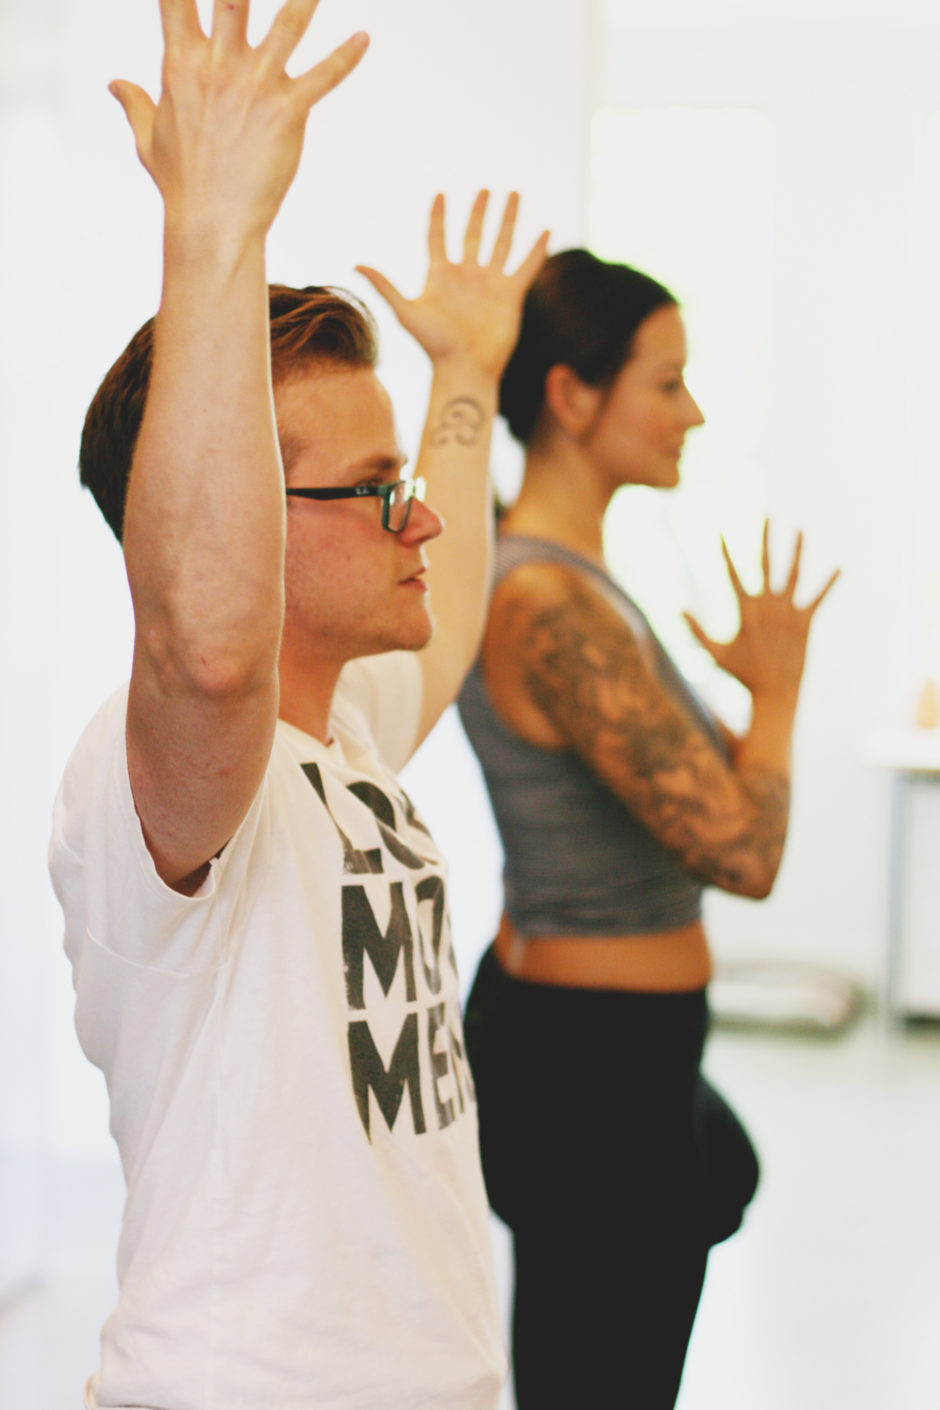
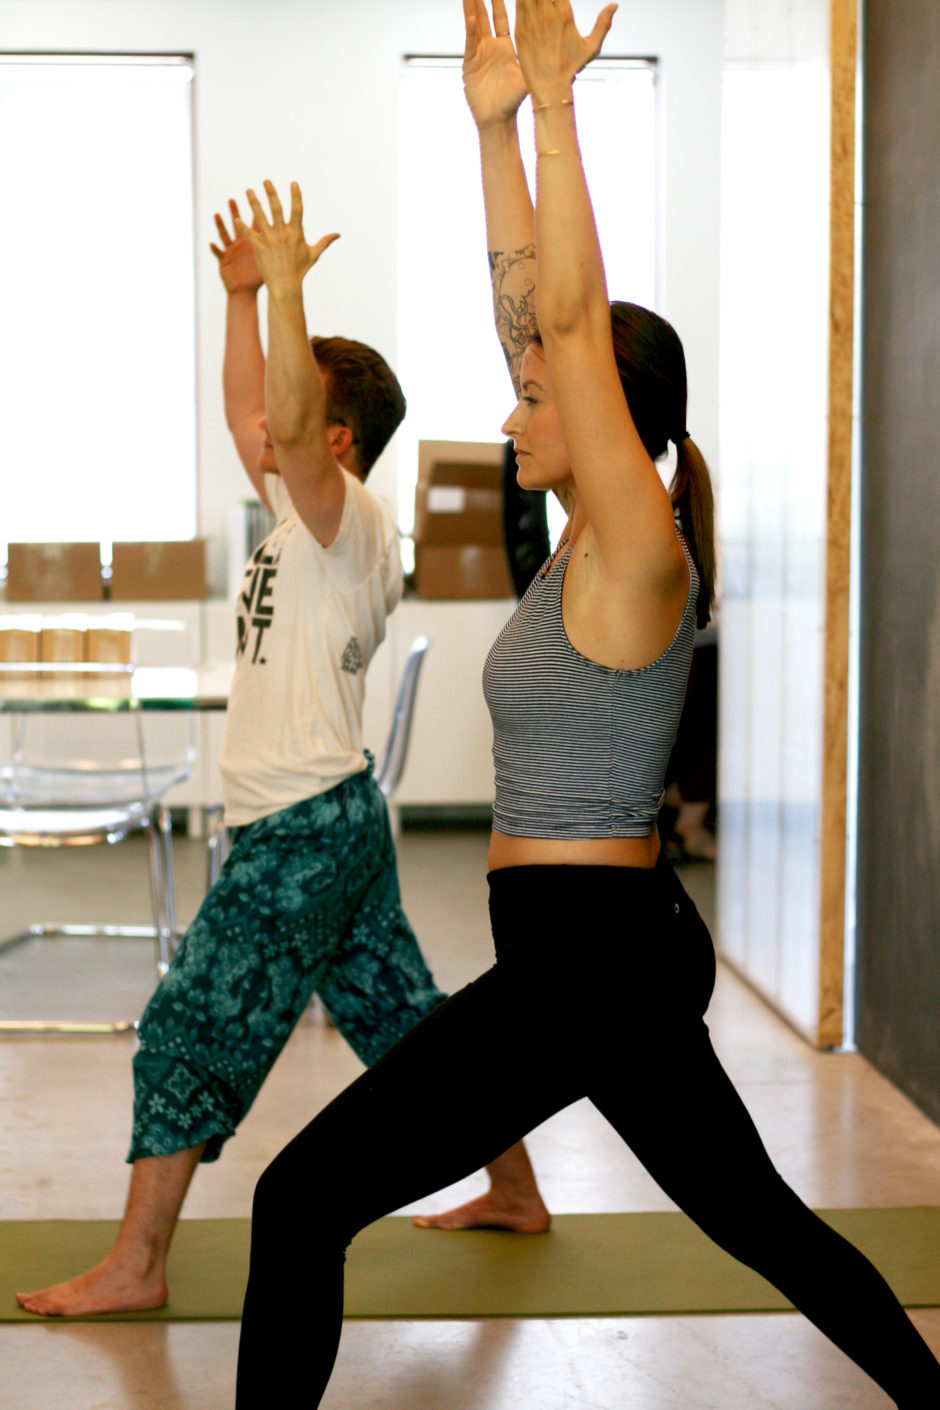
Whether you prefer the challenge of the one-legged crow pose or opt for something more restorative like child’s pose, yoga is an excellent way to exercise, meditate, and relax all in one. To help us find our zen, we asked two of our 2nd Street District massage therapists, Lala K. and Kelly M., to show us some of their favorite yoga sequences, which everyone can do, too. Grab your mat and follow along.
“For centuries, people from all walks of life have practiced yoga…” — Sam Kutesa
Our two massage therapists designed these yoga routines so that everyone — at all levels of practice — would be able to do them. You may modify each pose to your comfort level at any time and if you find you find yourself in pain or discomfort, stop and return to child’s pose.
Here’s what you’ll need to get started: a yoga mat, blanket, hand towel, stack of books, and a wall.
For other therapeutic stretches and/or yoga sequences, ask your massage therapist during your next appointment.
Lala’s Yoga Routine
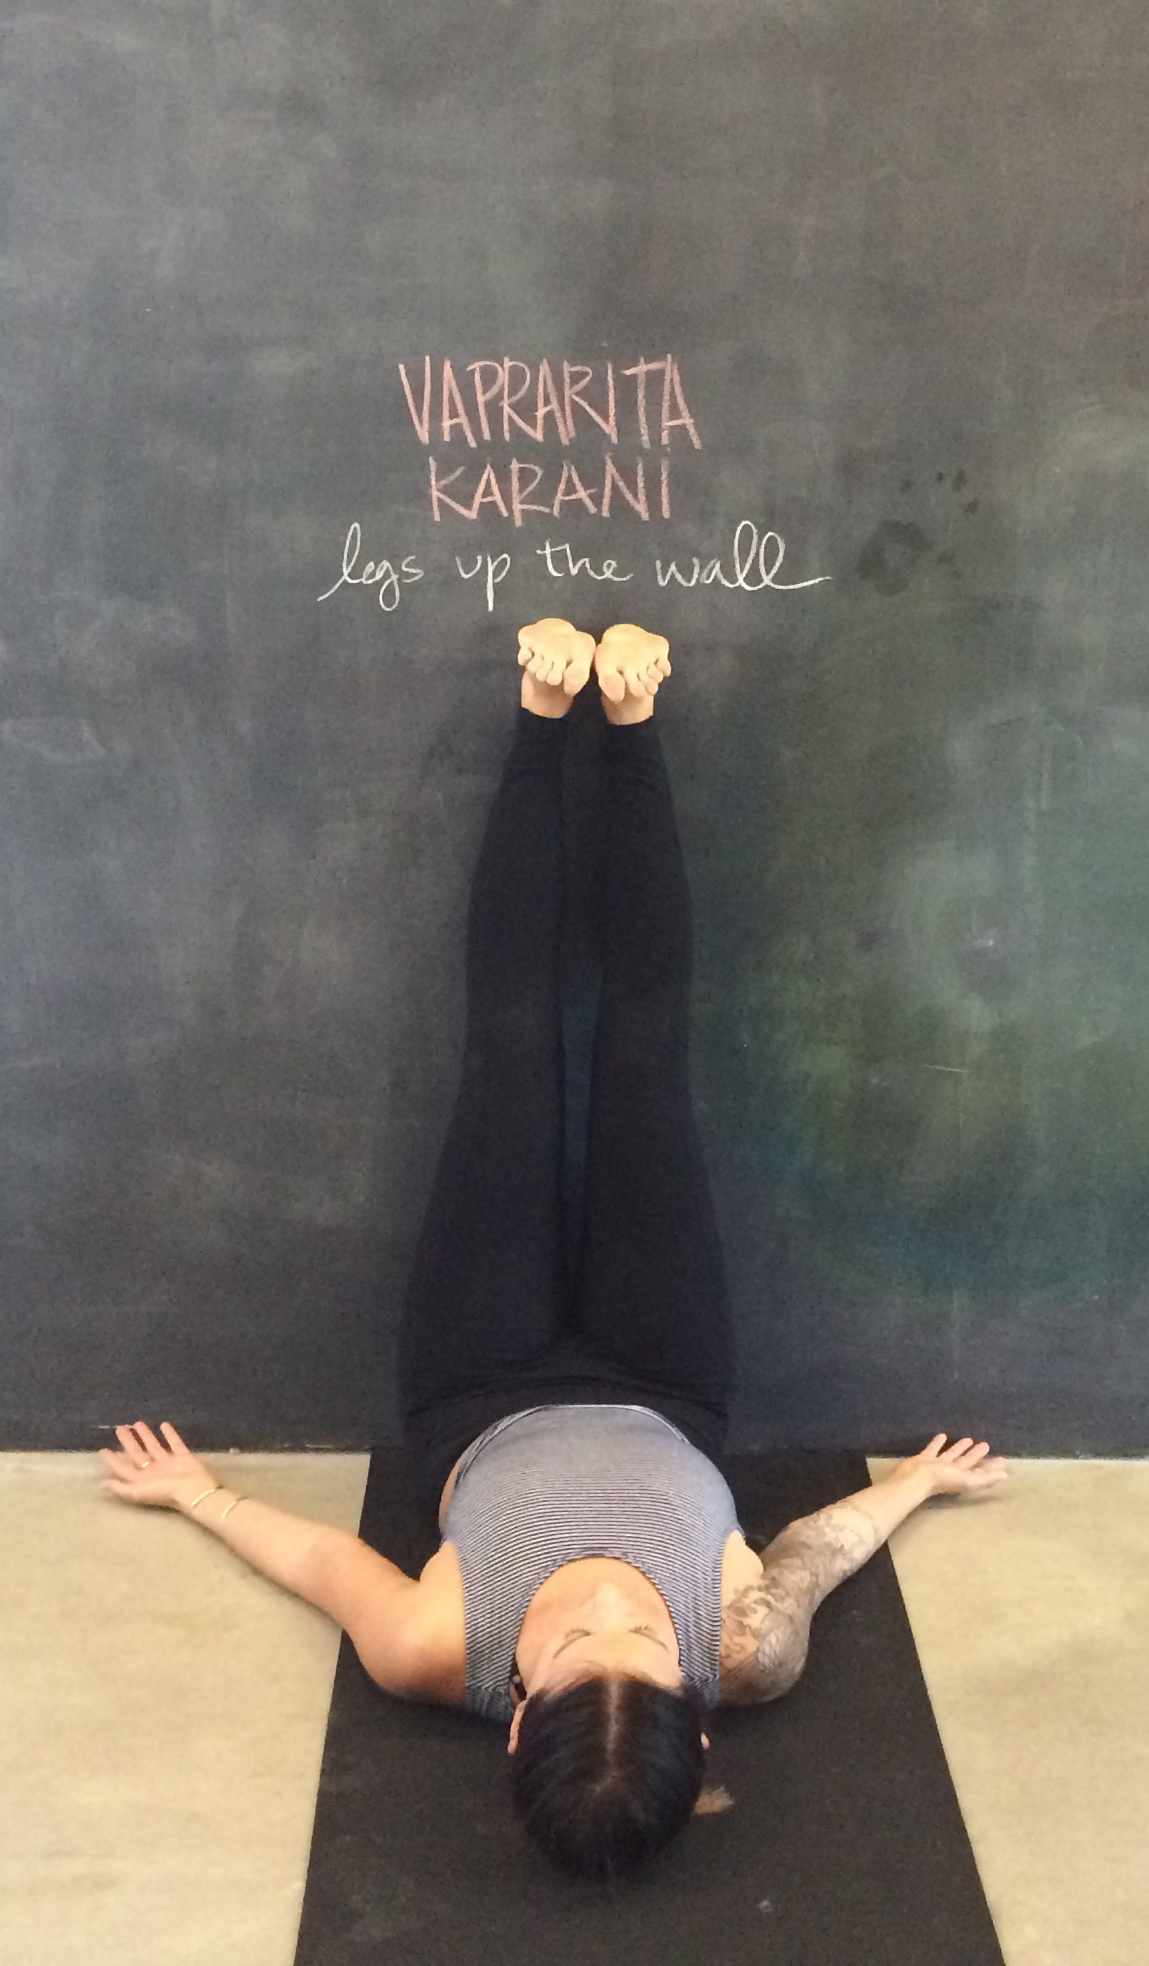
1. Viprarita Karani (Legs Up the Wall)
Start your yoga session feeling relaxed and improving your blood circulation with the Viprarita Karani pose. Sit two to three inches away from the wall on your mat. Then lay your legs against the wall while keeping your lower back and bottom seated on the mat. Next, lay your arms on the ground, palms up. Hold this pose for anywhere from five to 15 minutes.

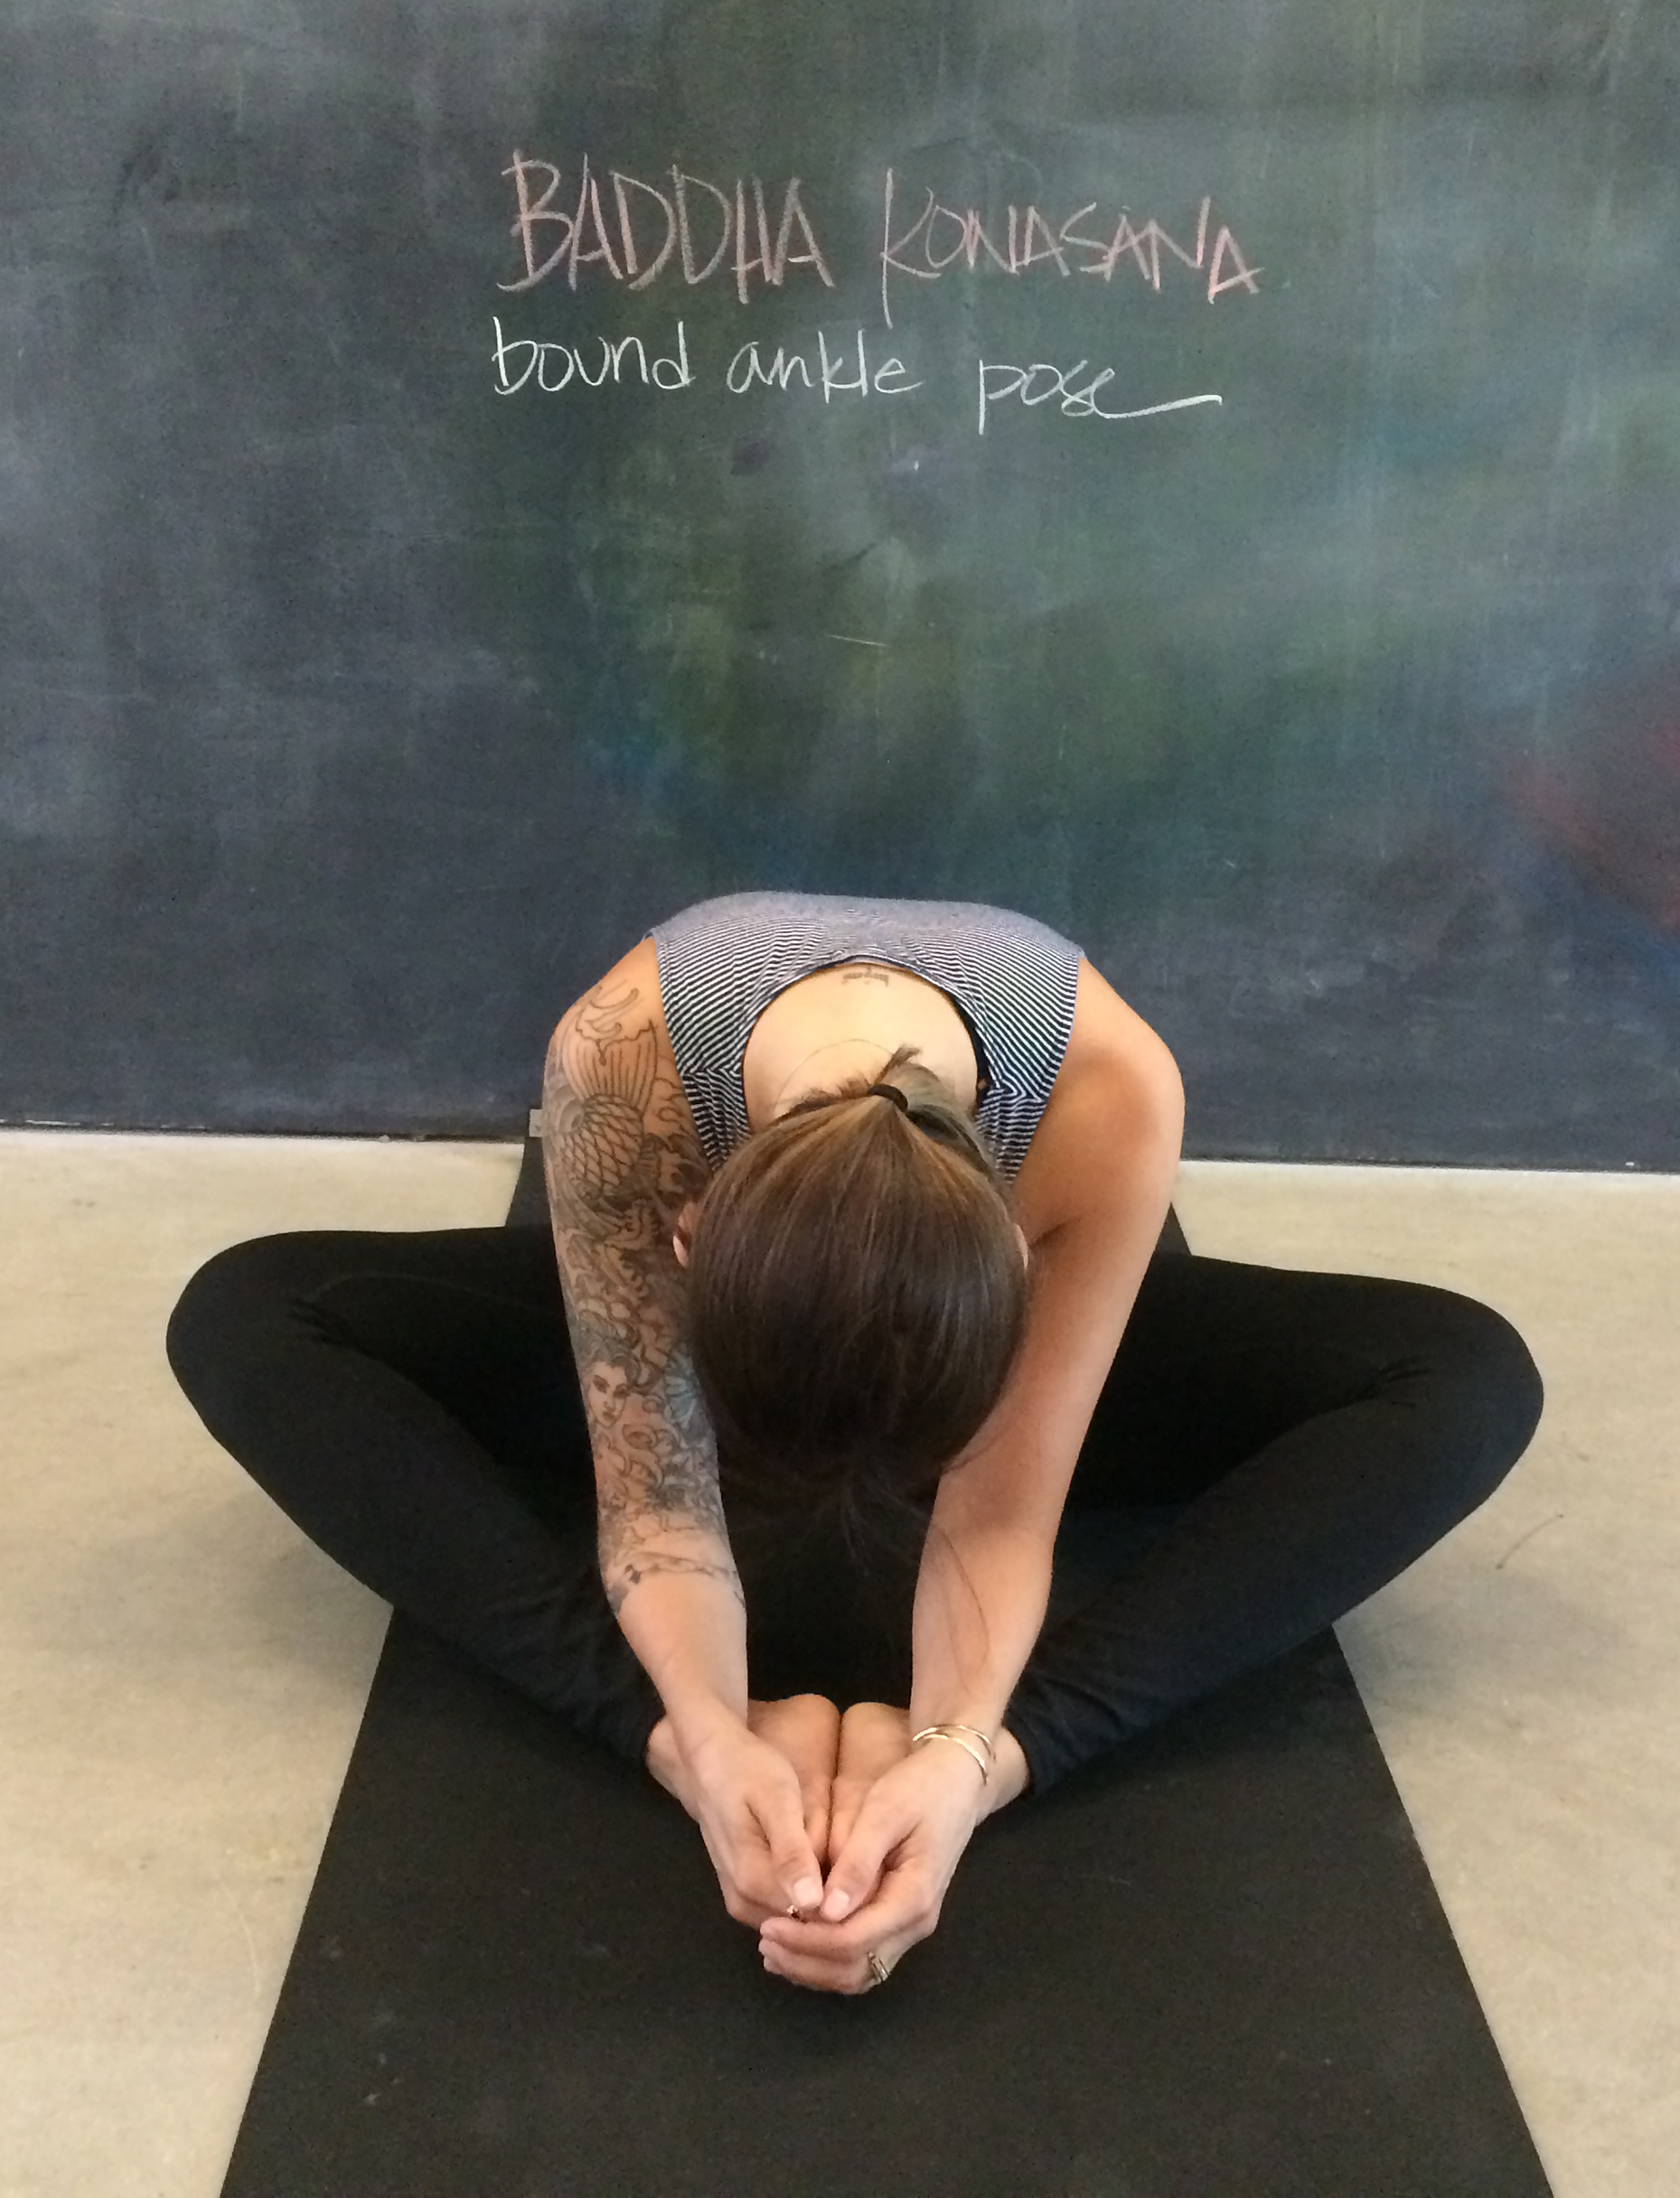
2. Baddha Konasana (Bound Ankle Pose)
Stretch out your lower back and hips with the Baddha Konasana pose. From Viprarita Karani, swing your body around so your back is facing the wall. With your legs out in front, bend your knees, then bring your heels to your pelvis, make sure that both of your feet are touching. Exhale and place your hands on your toes and bend your back and head forward. Make sure to keep your bum on the mat, and your legs in a relaxed position. Hold this position for one to five minutes while taking deep breaths.
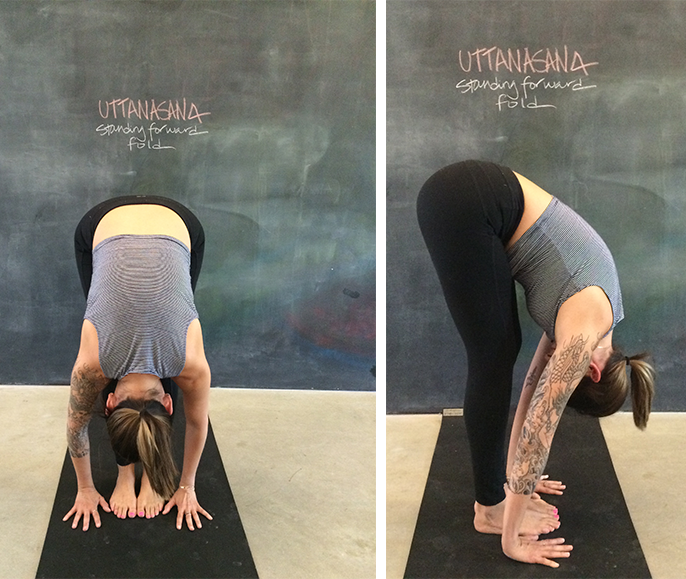
3. Uttanasana (Standing Forward Fold)
After the Baddha Konasana, rise to a standing position with your back against the wall. Next, bend at the waist and let your palms touch the mat. If your hands can’t reach the bottom of the mat, cross your forearms and grab your elbows. For those who are more advanced, place your palms behind your feet and let your head fall forward to touch your knees. Make sure when doing this pose to keep your legs straight, but do not lock your knees. Stay in this pose for 30 seconds to one minute.
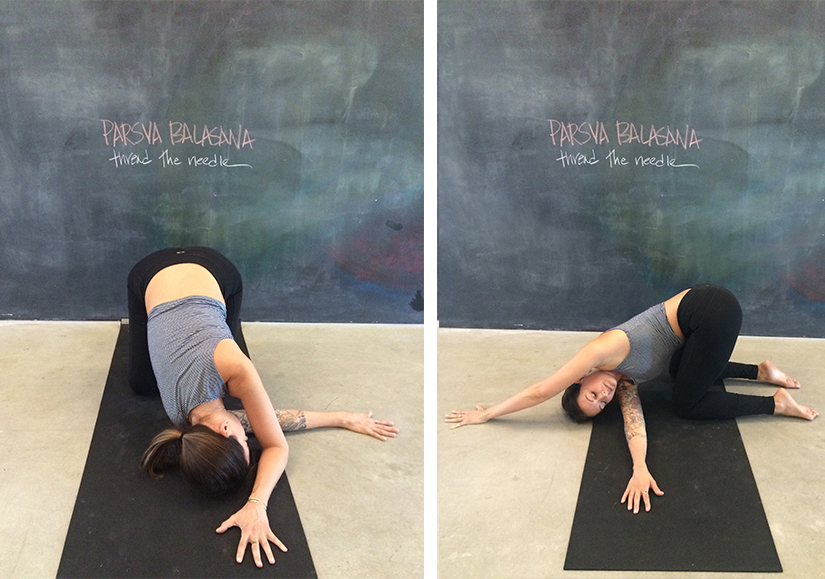
4. Parsva Balasana (Thread the Needle)
To help relieve tension in your shoulders and thoracic spine, try the Parsva Balasana pose. With your body in table pose, both knees and hands are on the mat, bring one arm across your body, underneath your outstretched arm, and let your head rest comfortably on the mat. Inhale for about five to six breaths and exhale. Return to table pose before switching sides.
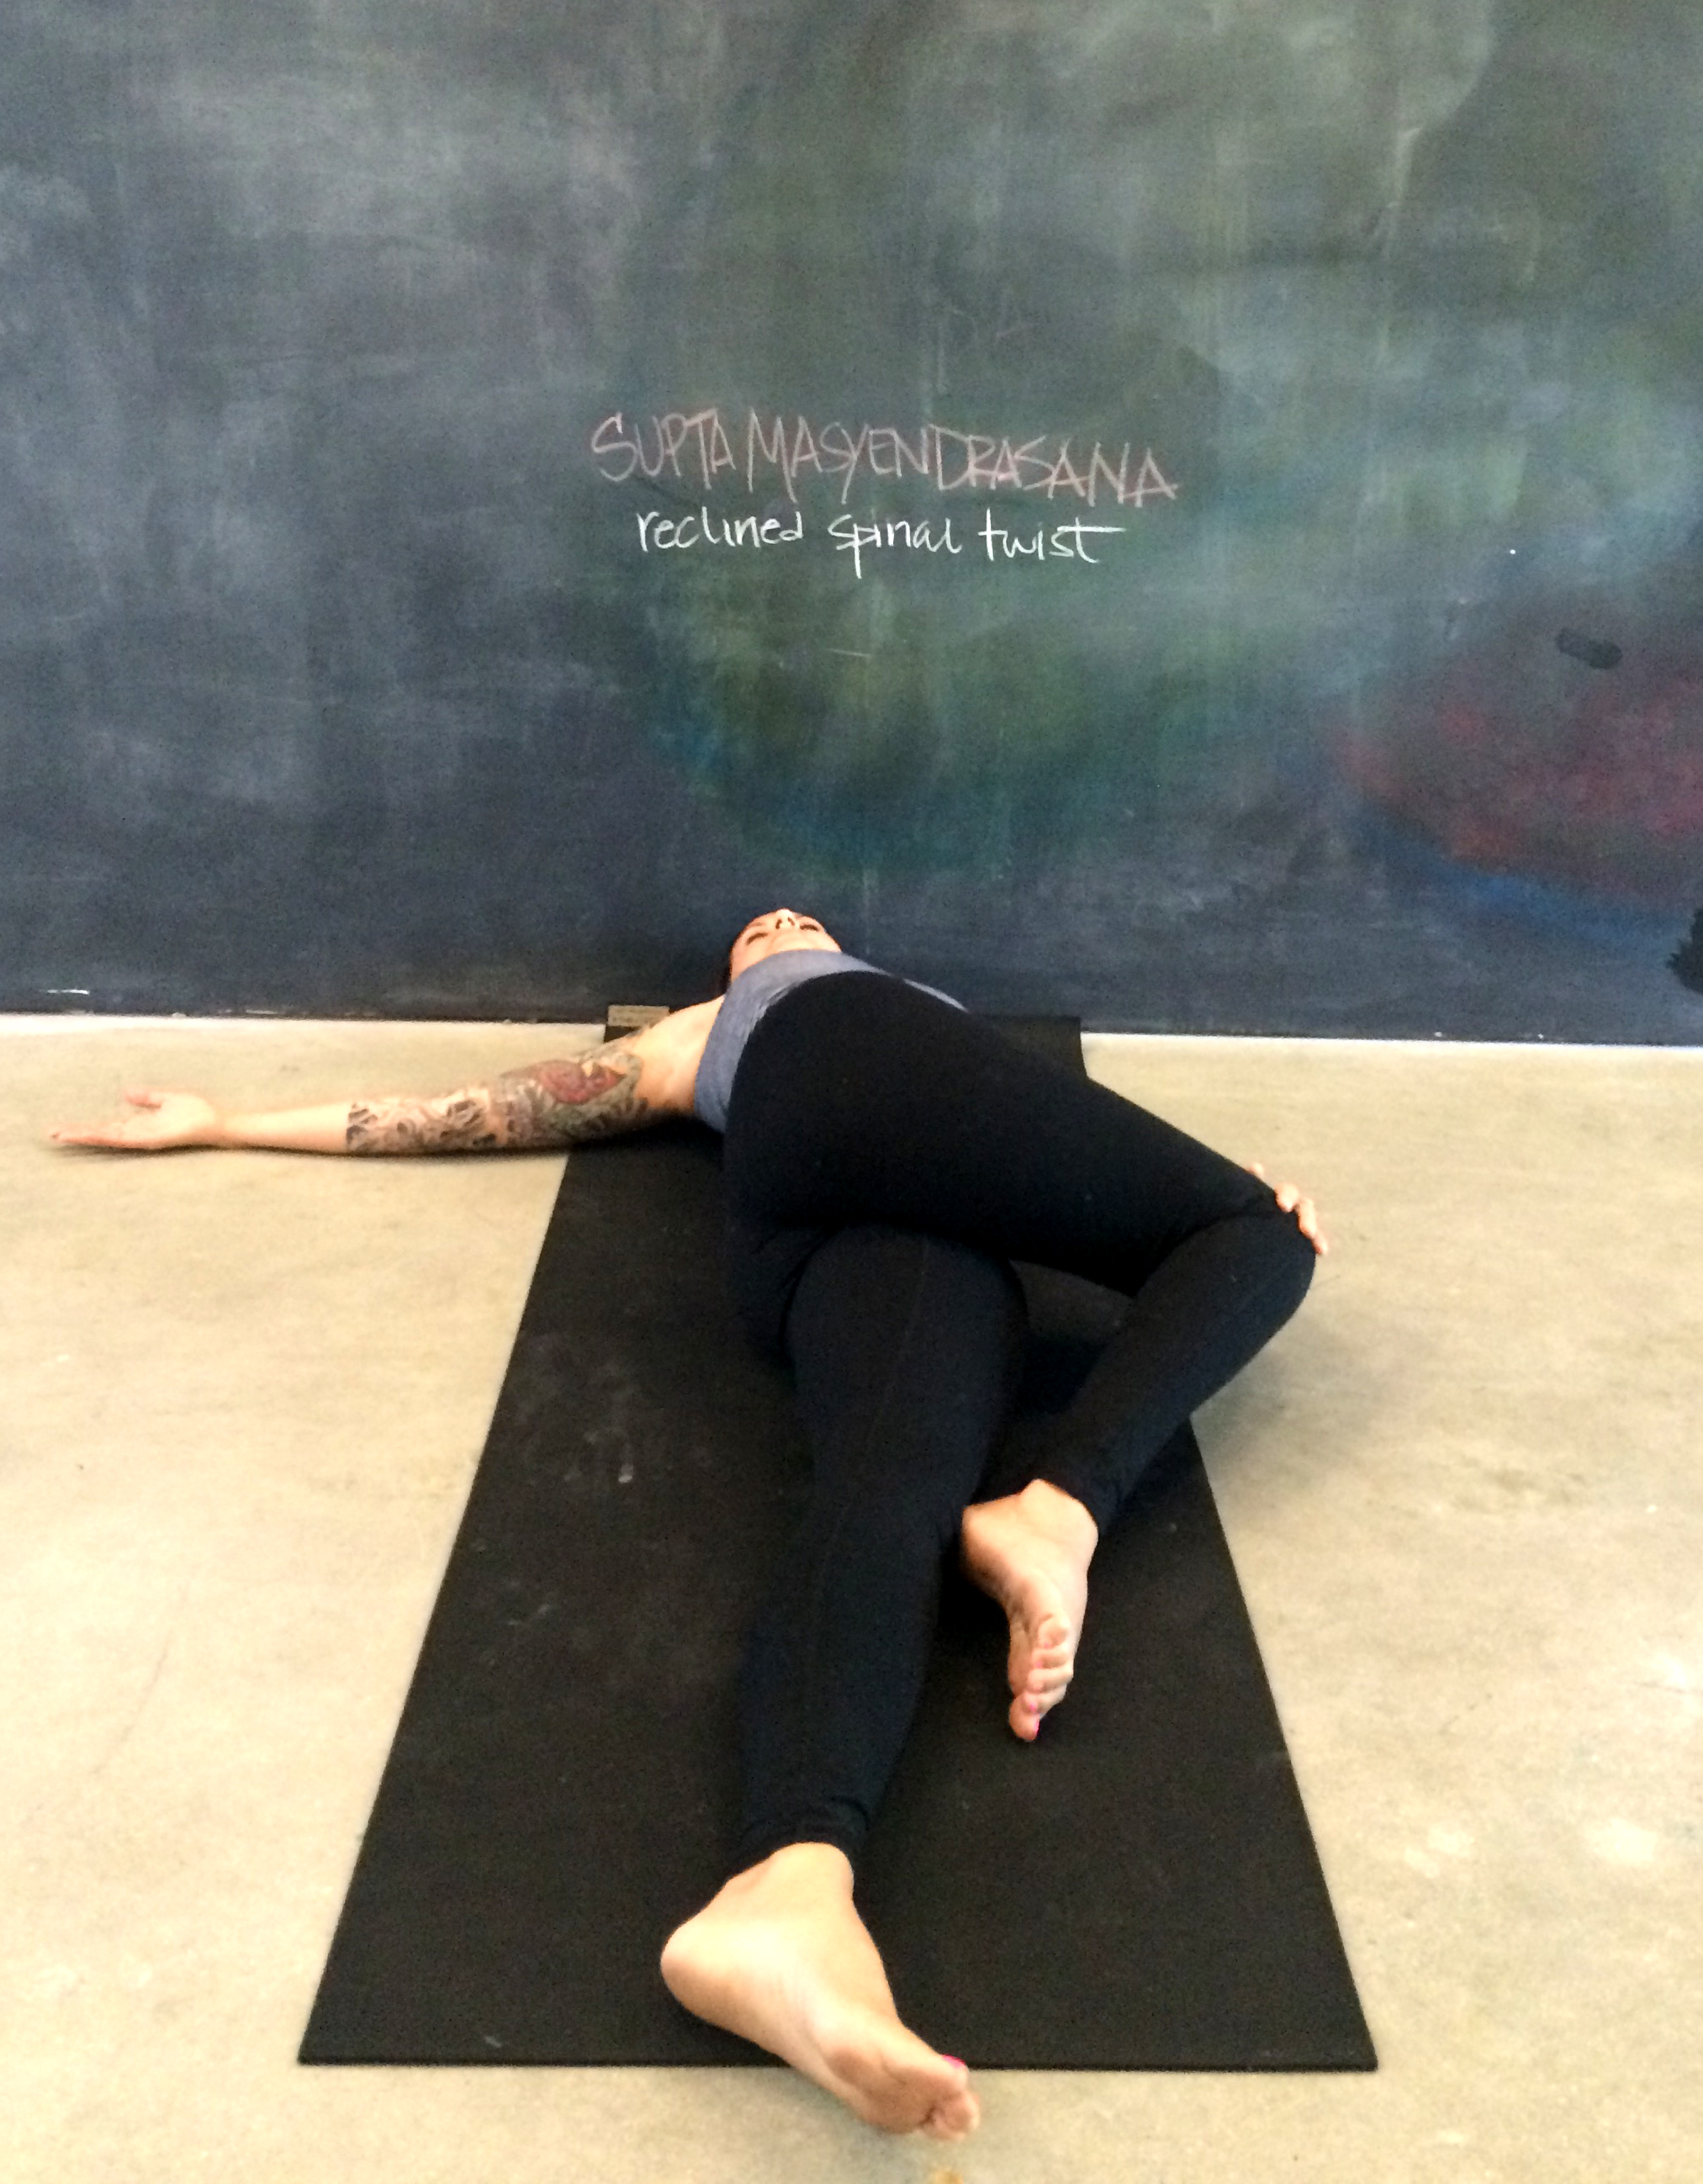
5. Supta Matsyendrasana (Reclined Spinal Twist)
From Parsva Balasana, lay on your back for a couple of seconds before going into the Supta Masyendrasana. This reclined spine twist helps relieve tension and pain in your hips. While on your back, extend both arms with your palms facing up. Then, bring your left knee across your body with your right leg relaxed and parallel to the mat. Next, bring your opposite arm to touch the top of your left knee. In this pose, it’s important to make sure that your left arm is parallel to the floor with your palm facing up. Hold the pose for two to three minutes before switching to the other side.
Kelly’s Yoga Routine
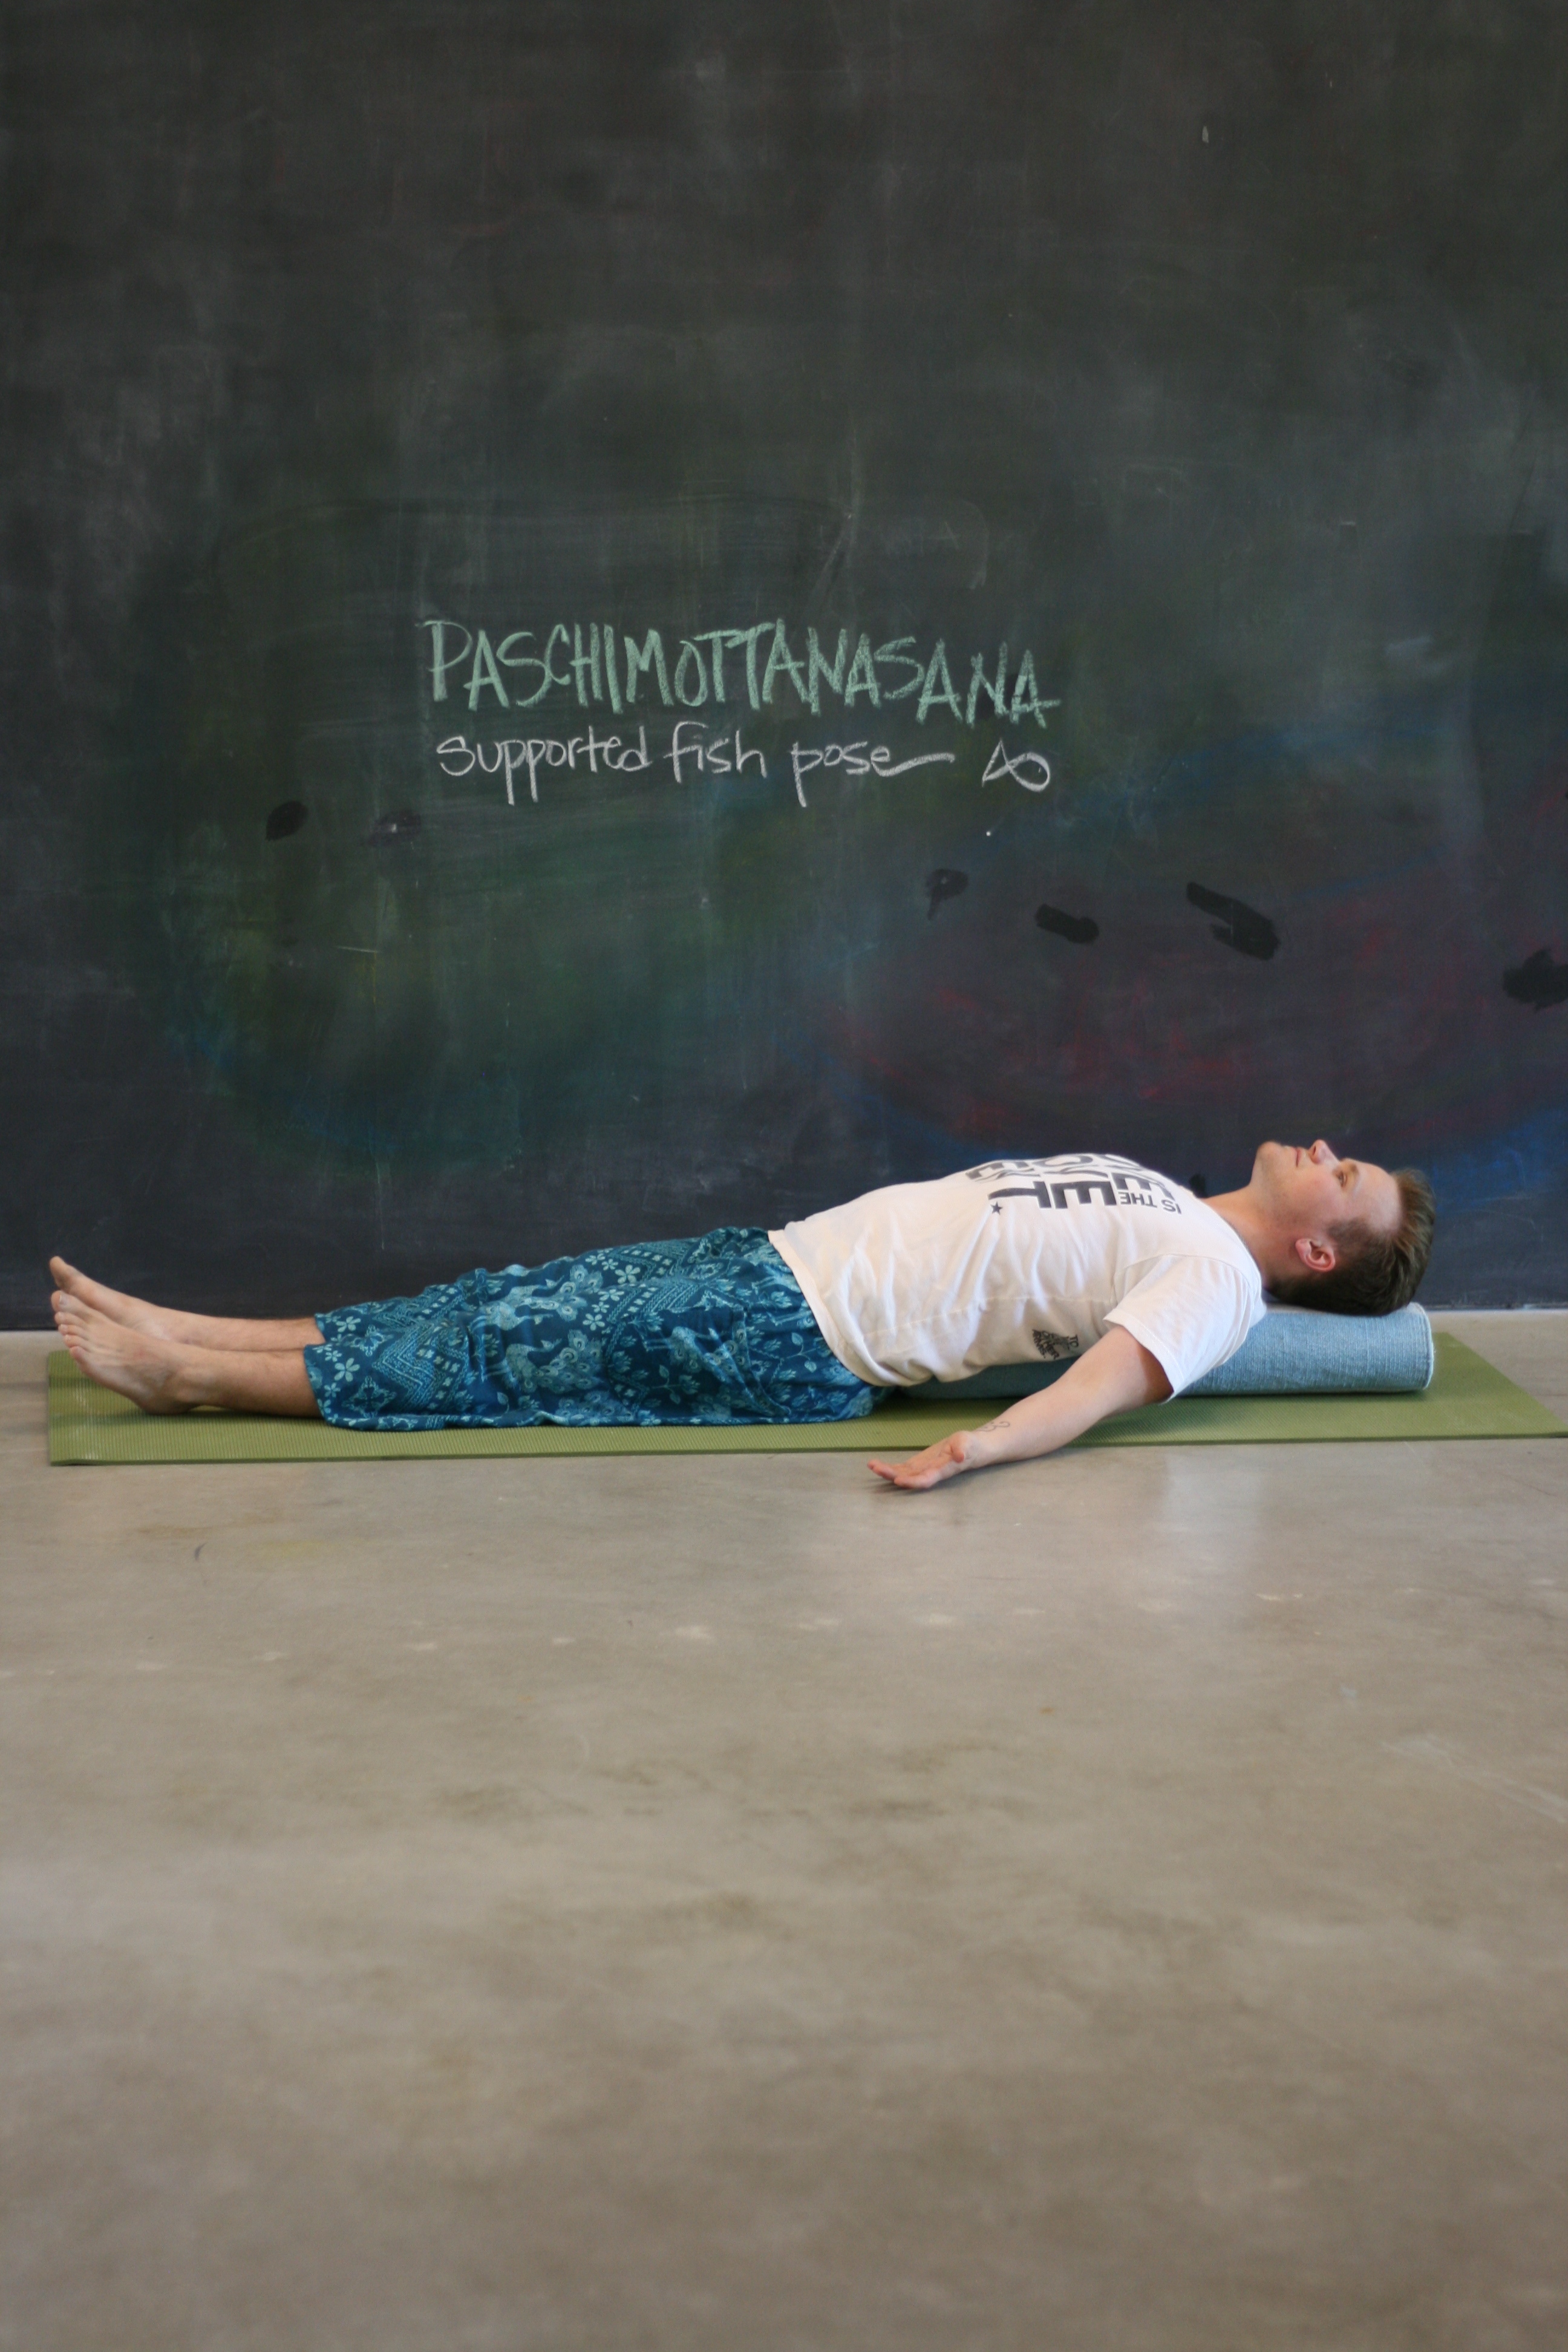
1. Paschimottanasana (Supported Fish Posture)
Before beginning the Paschimottasana pose, you will need a rolled yoga mat wrapped in a towel to provide the needed back support. Next, place the covered mat vertically above your tailbone, making sure to leave extra room for your head. Lay on top of your mat with your feet pointed and arms relaxed by your side. Inhale and exhale in this pose for 15 to 30 seconds.
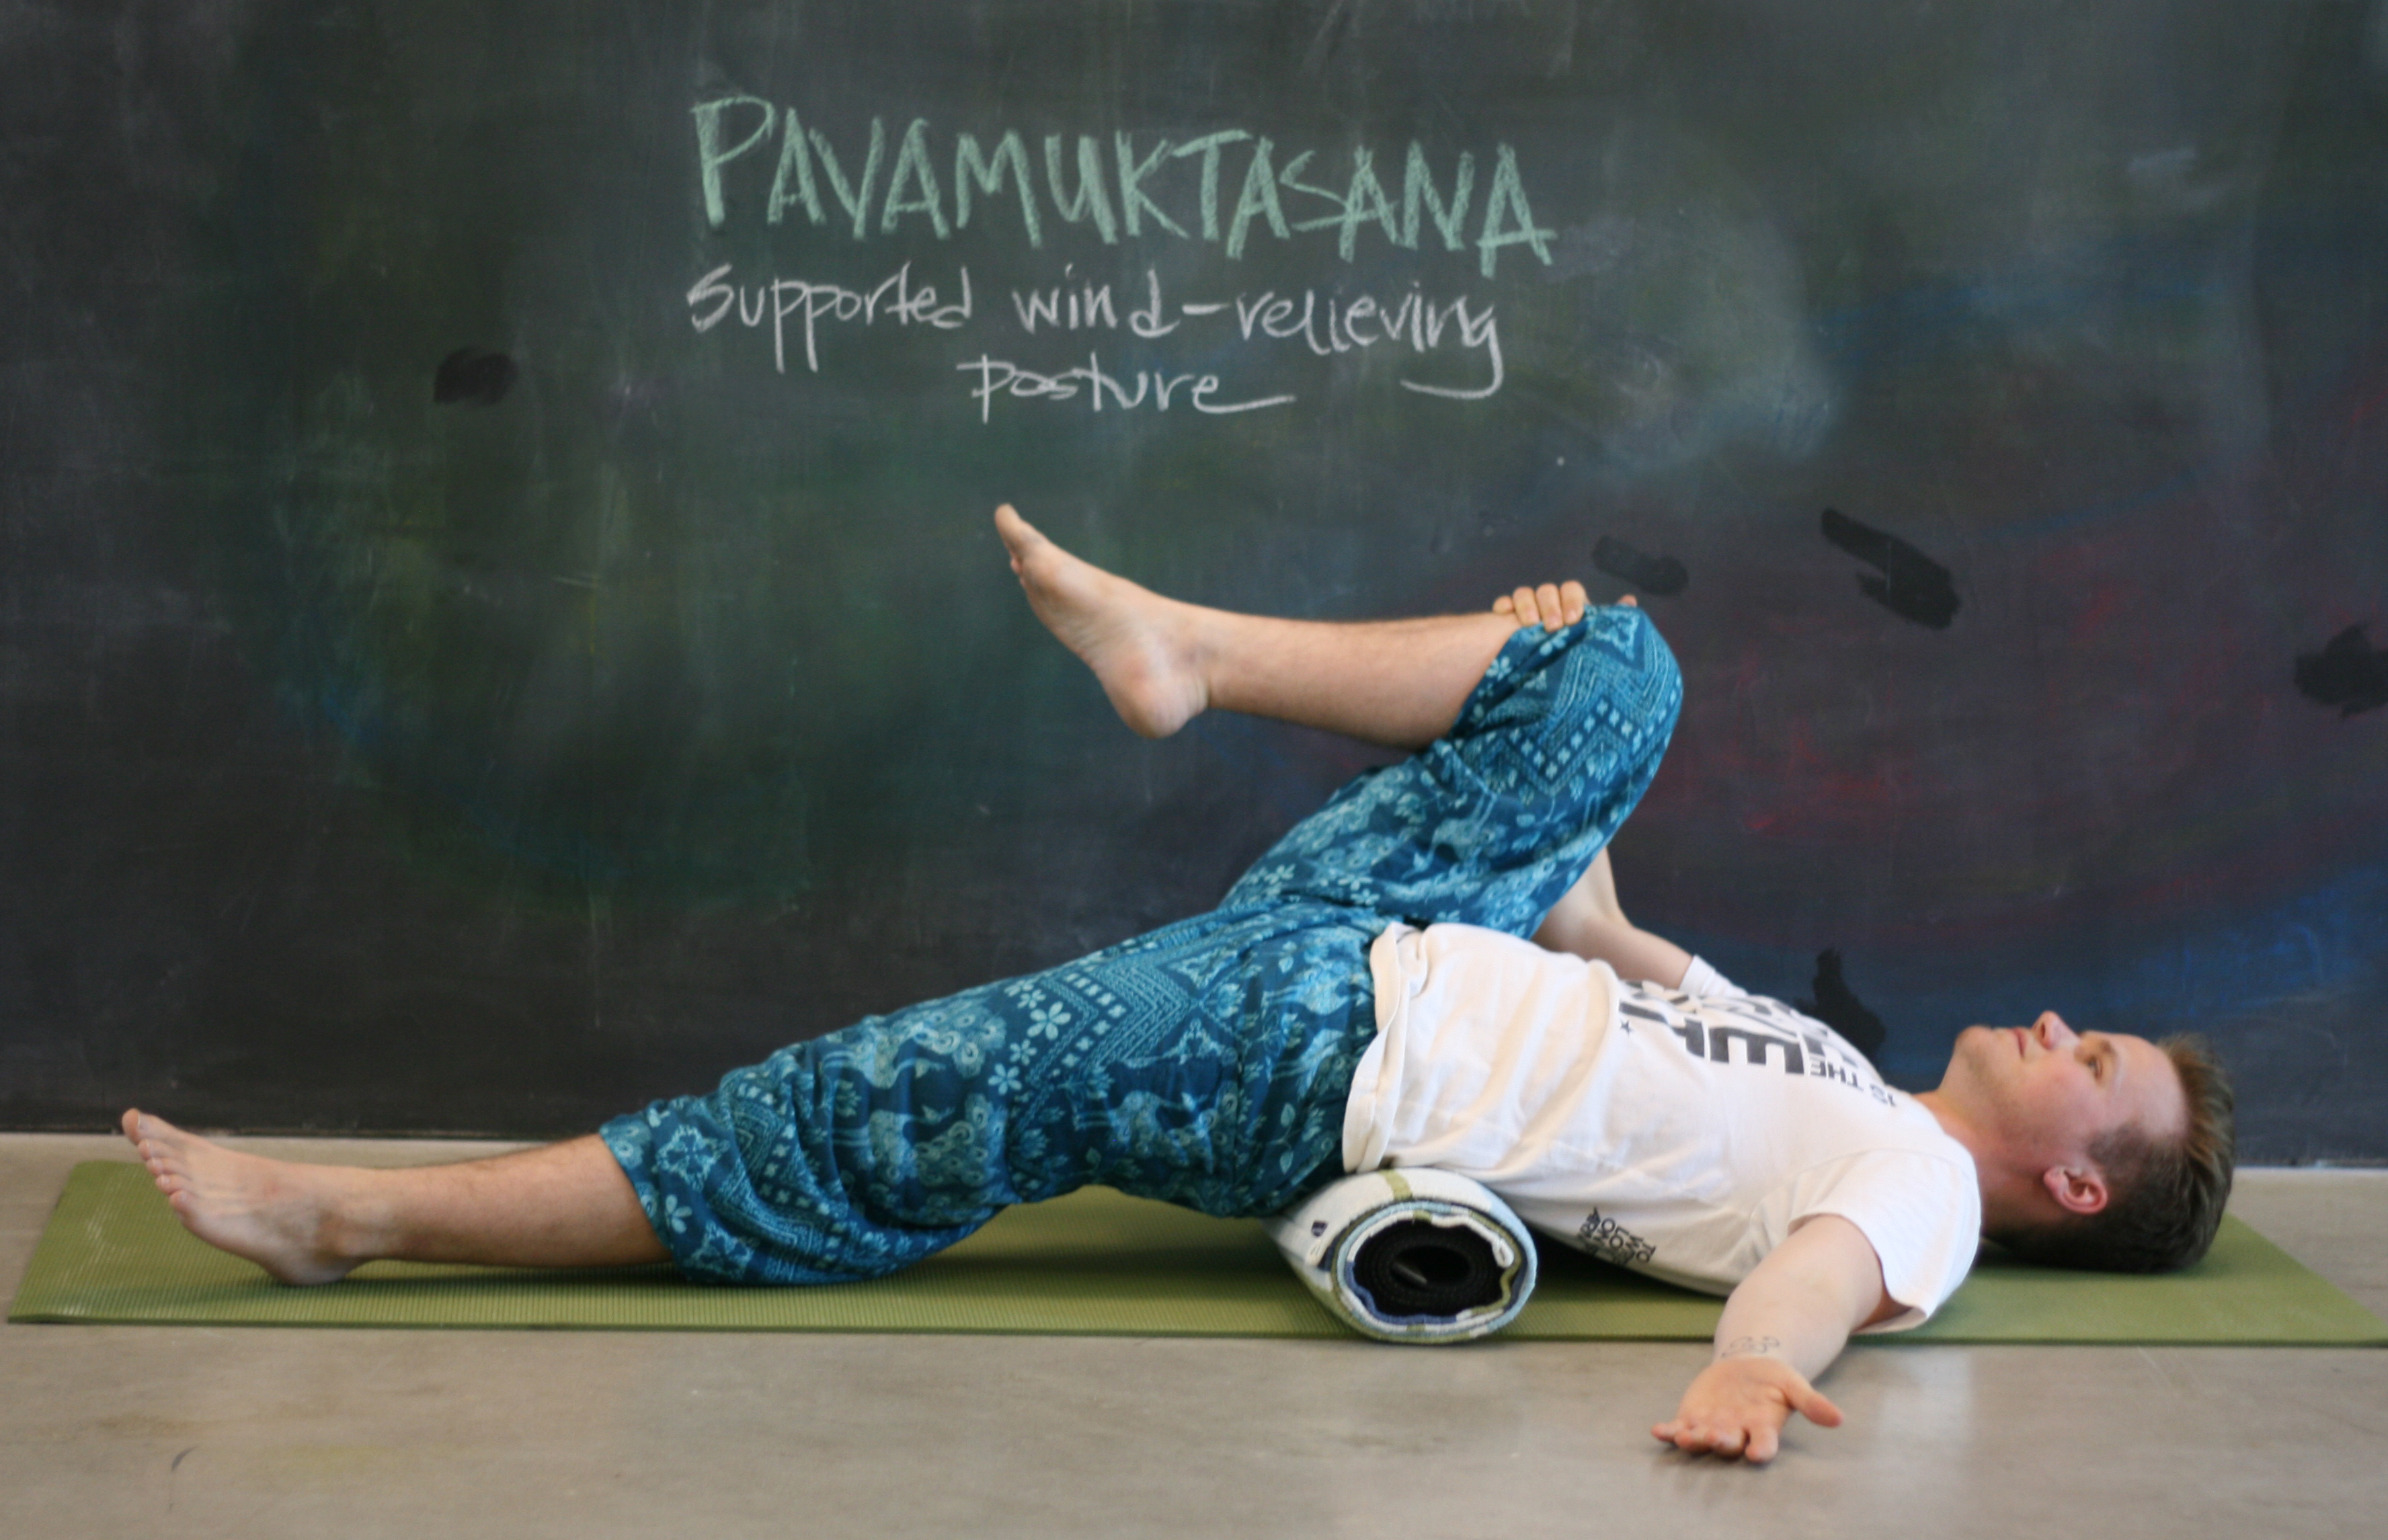
2. Pavamuktasana (Supported Wind-Relieving Posture)
After the Paschimottanasana pose, place the mat horizontally across your lower back and above your tailbone. Start by laying on your back with your hands relaxed by your side. Then, grab your right knee with your right hand and gently pull your knee to your chest. Make sure your left knee is straight while your leg is parallel to the floor. Hold the pose for 15 to 20 deeps breaths, then as you exhale bring your left leg back to the starting position before switching sides.
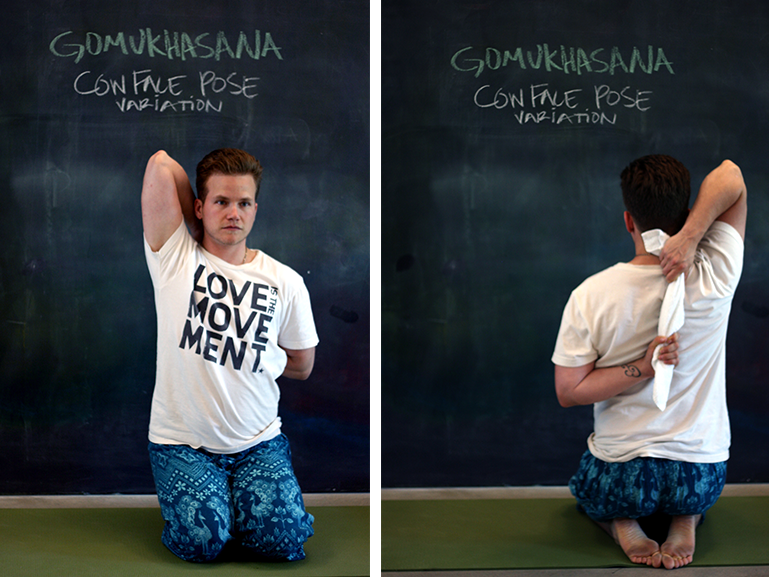
3. Gomukhasana (Cow Face Pose Variation)
Start by sitting your knees under your feet. Then, place your hand holding the towel behind your head. Put your other hand behind your back. To get an effective stretch, try grasping the towel like Kelly. Hold this pose for one minute, while breathing deeply, before switching arms.
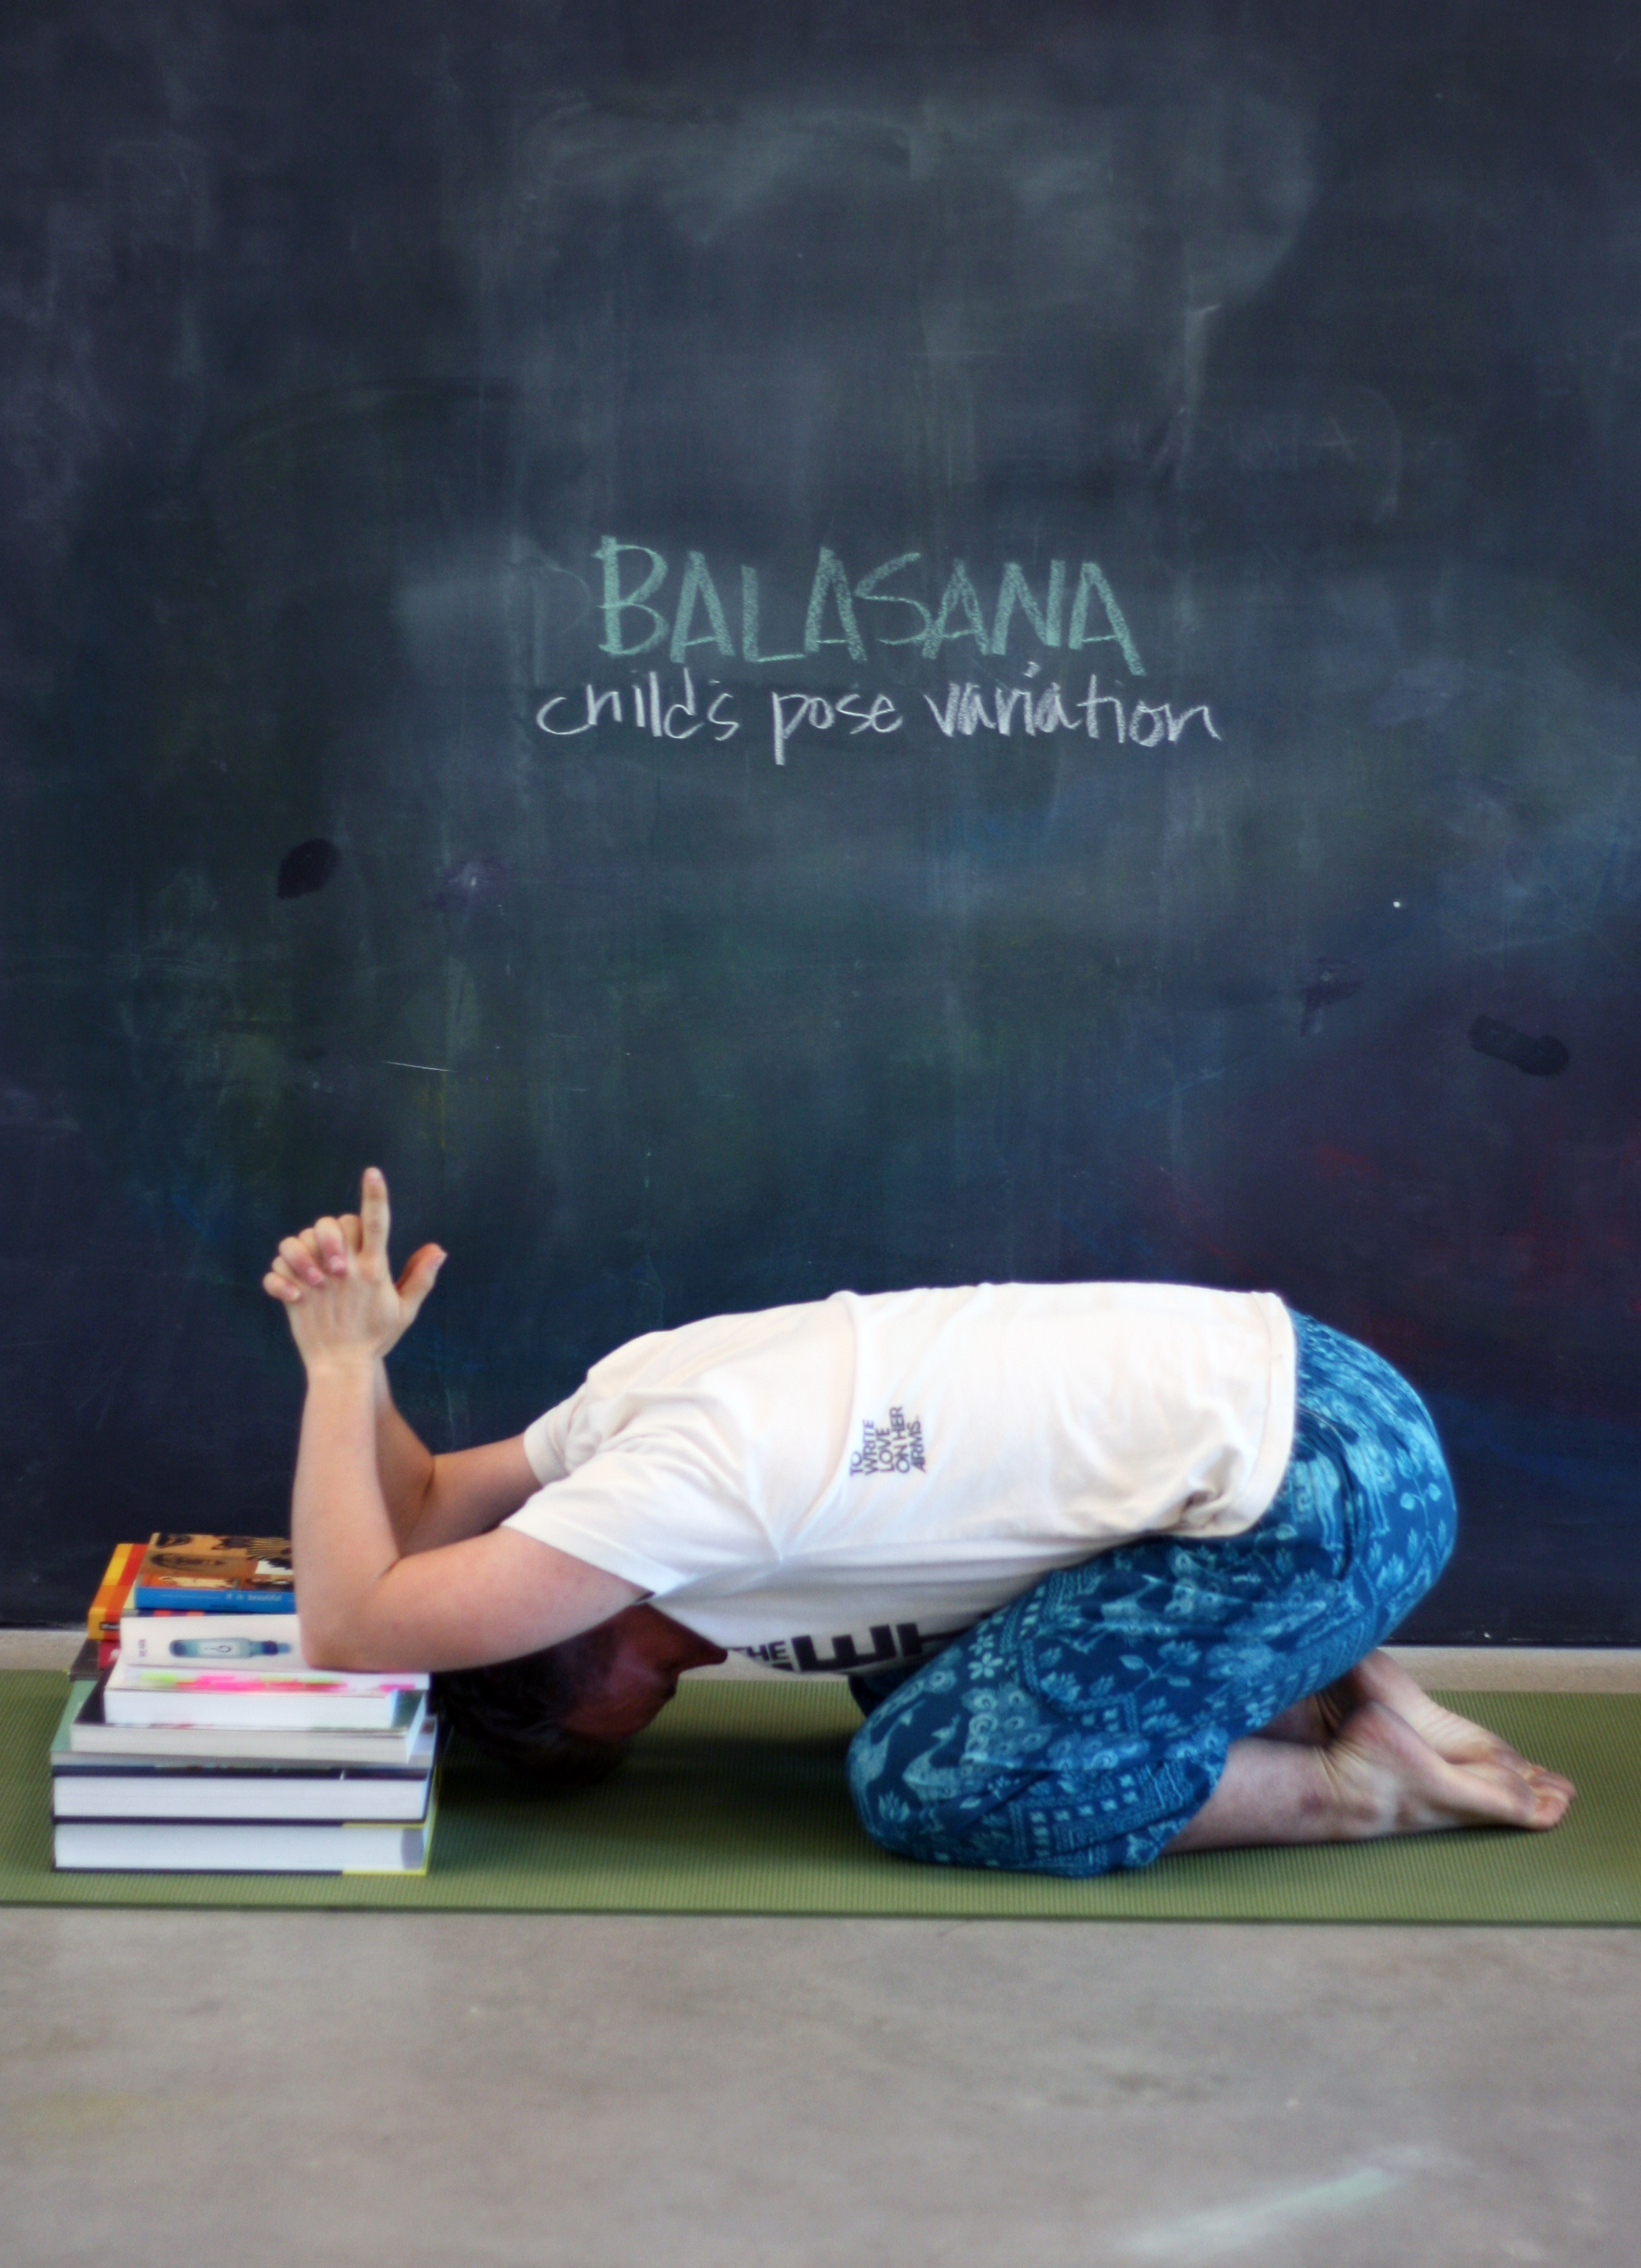
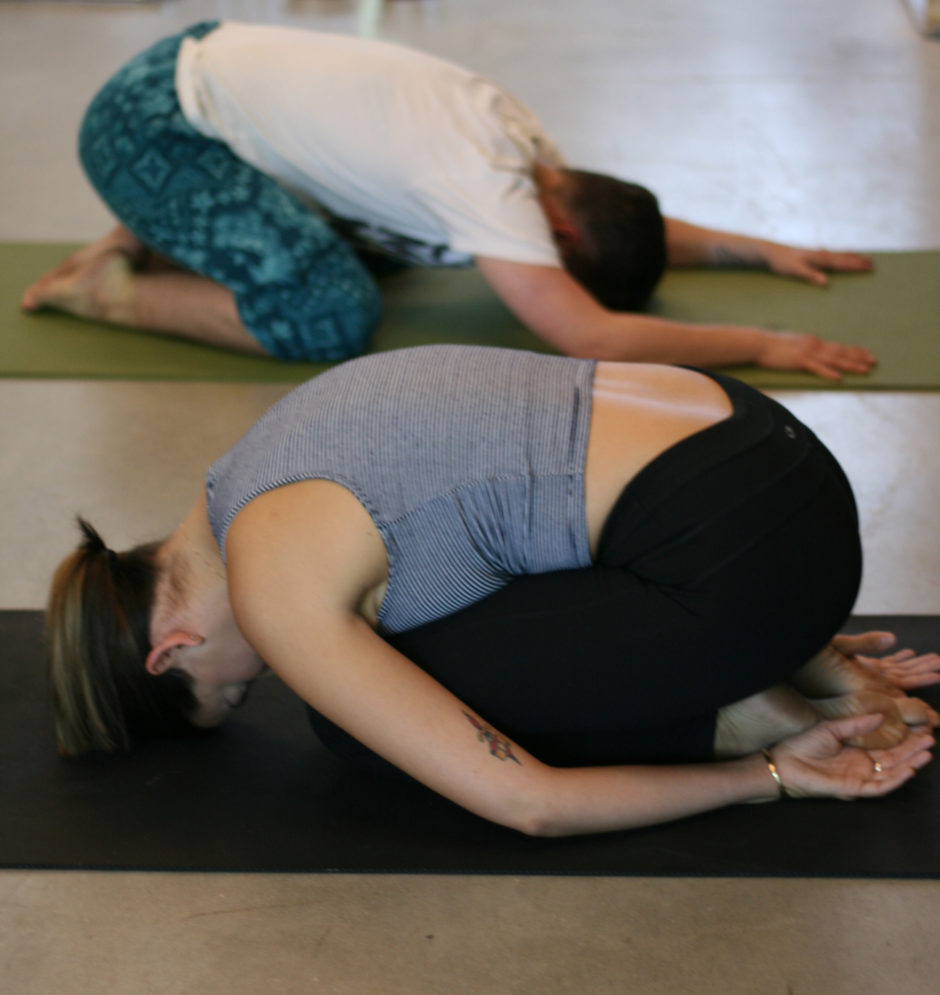
4. Balasana (Child’s Pose Variation)
Prior to starting this pose, you’ll need a stack of books. Then, while in table pose, rest your elbows on the books and place your chin on your sternum. When doing this pose, make sure that your legs are relaxed and your back is flat. Hold this pose for one minute.
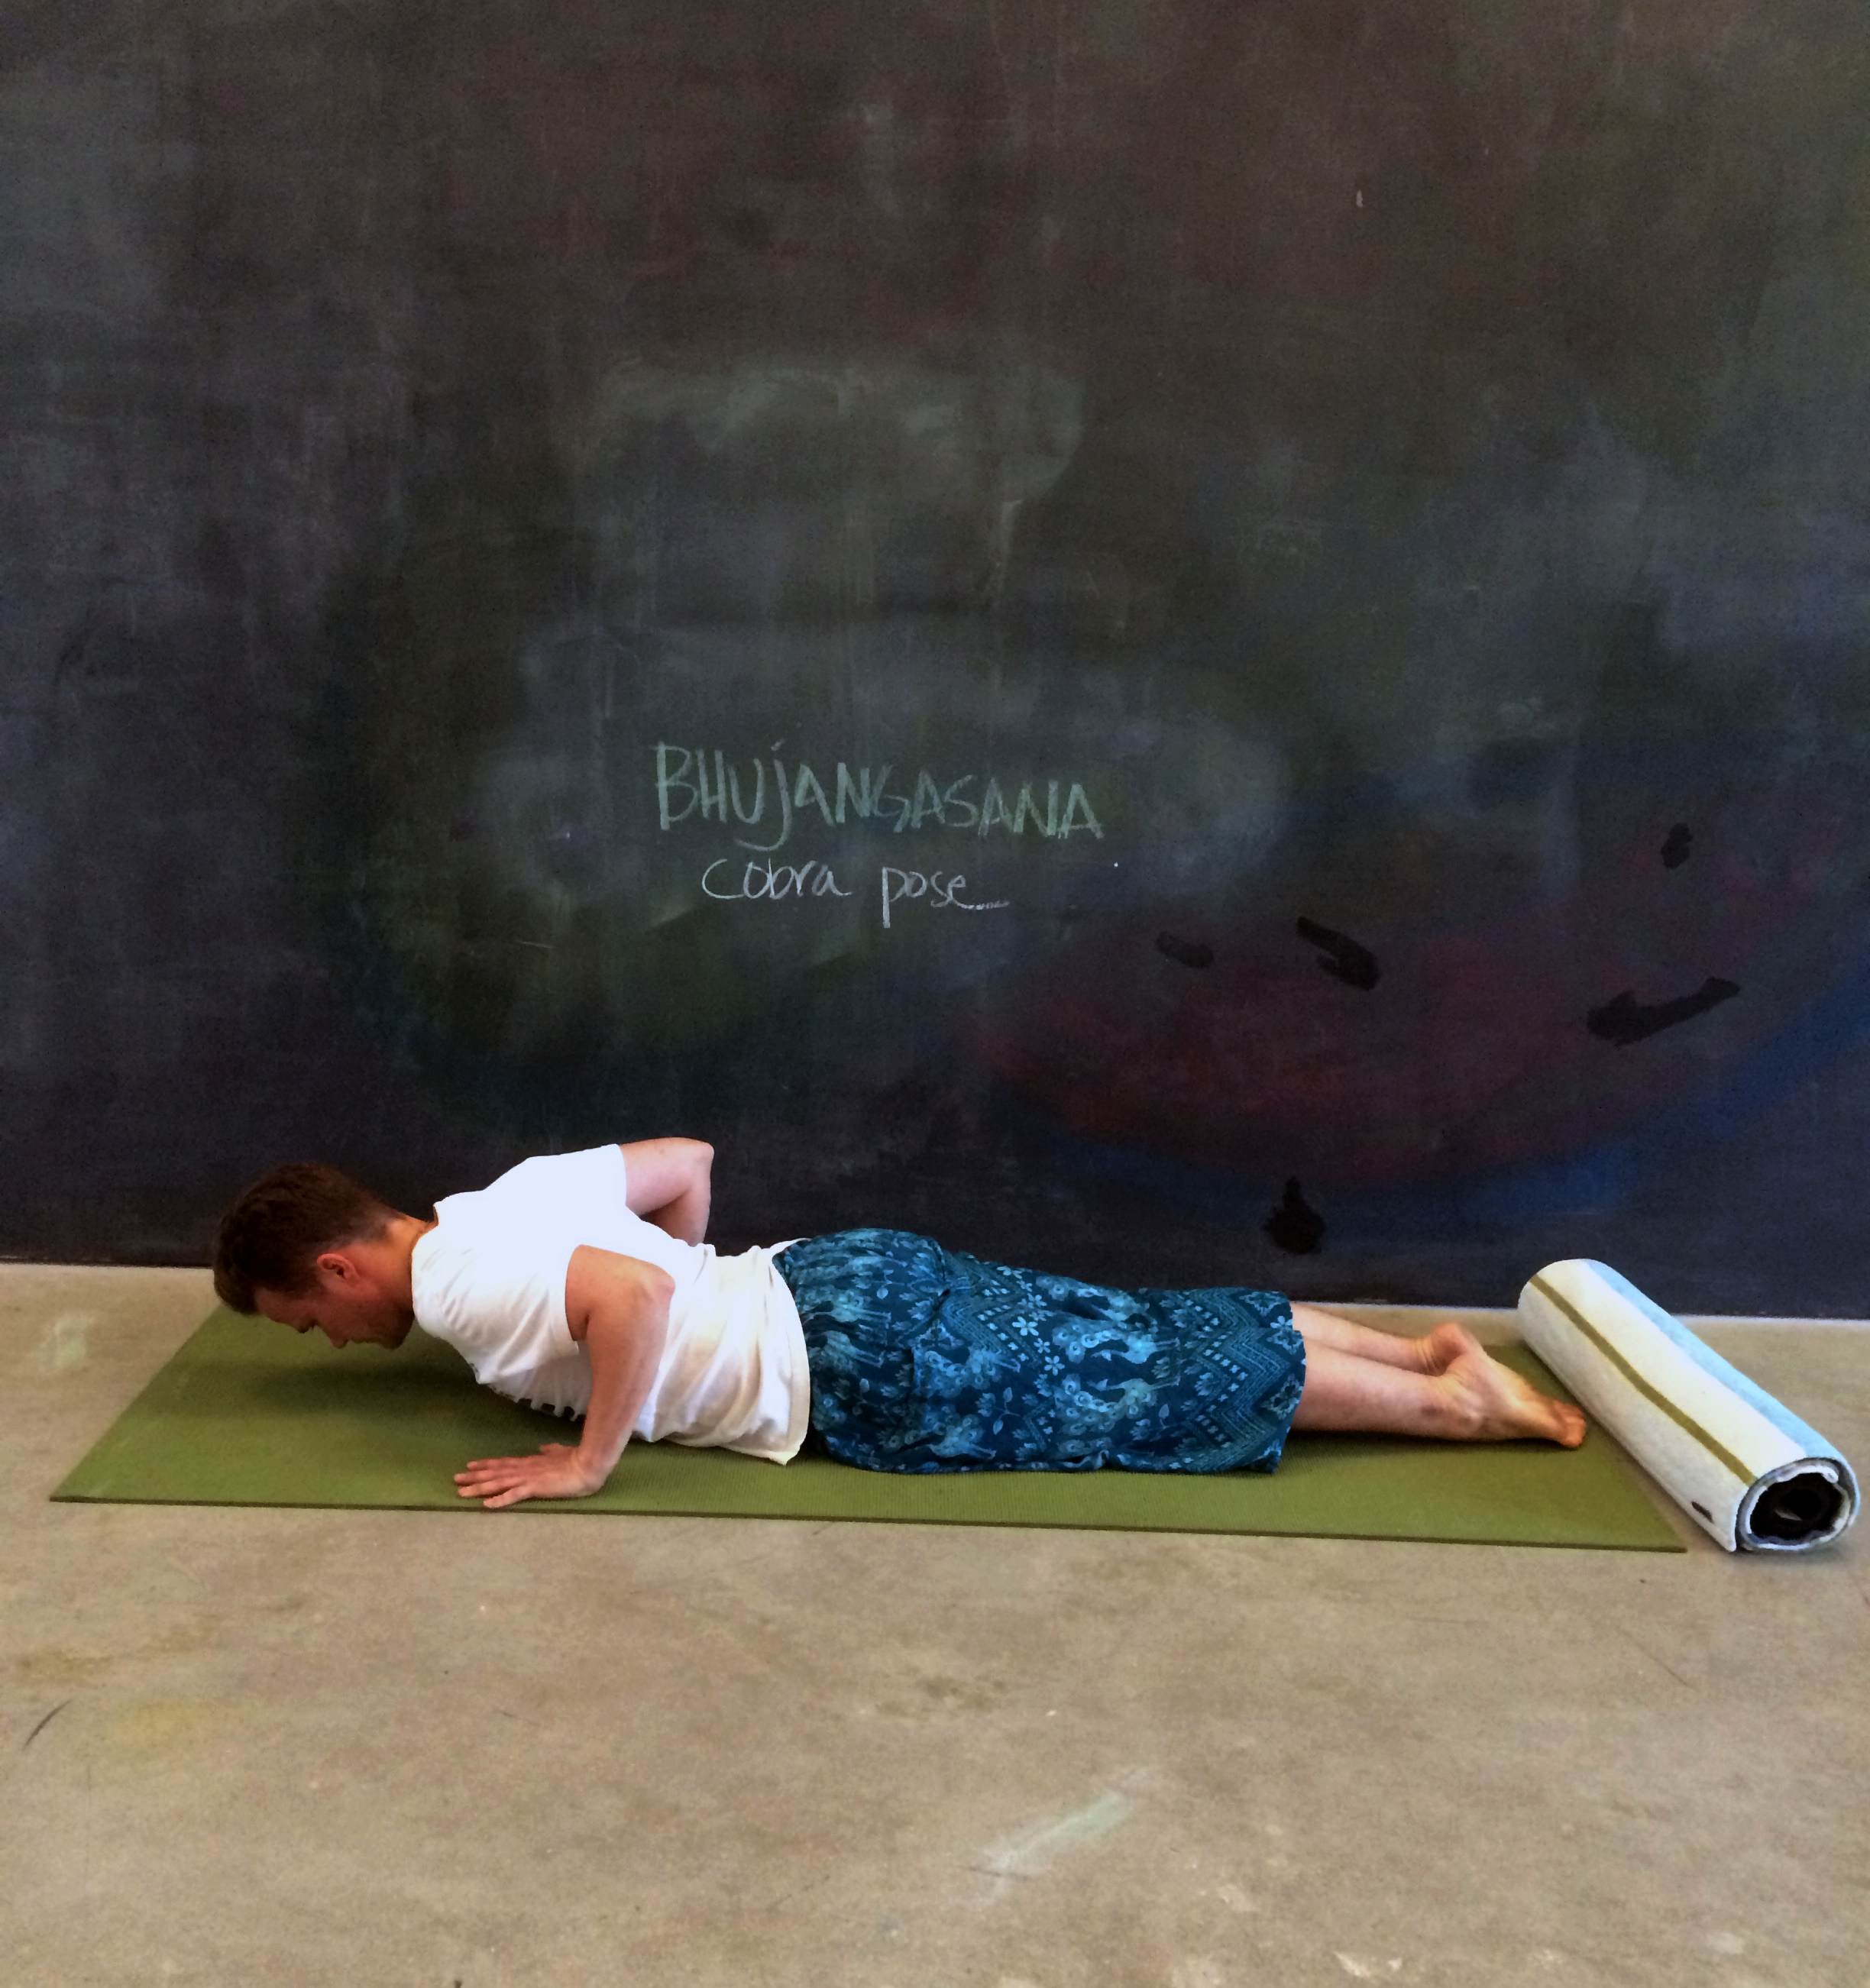
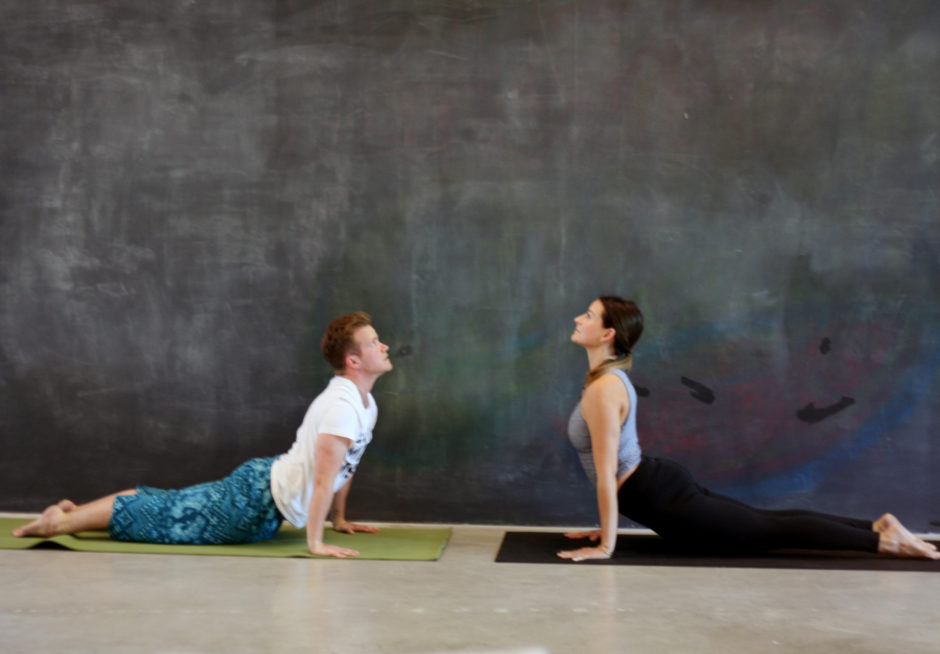
5. Bhujangsana (Cobra Pose)
Start by laying flat on your stomach with your feet resting on the mat. Move your hands under your shoulders with your elbows hugging the side of your body. Then, take a deep breath and using your upper body, raise your shoulders off the mat. It’s important to make sure that your toes and legs are relaxed doing this pose, as crunching them could damage your spine. Hold this pose for 30 seconds, then exhale and slowly lower your chest back to the mat.
No Comments